
■1: Basic lighting

Everyone: learn lighting
If I know nothing about the work you do, here’s what I’d recommend you learn, ranked by importance:
Lighting
Polygon modeling
Shading
Procedural modeling
Thumbnailing
Technical animation
Sculpting
Pipeline architecture
These are the skills that I think will help in just about any work in 3D. Let’s talk about number 1.
This is why lighting is first:
You can’t show anything without lighting it.
Learning just a little bit will improve renders massively.
Lighting specialists earn more than almost all other 3D specialties.
Basic lighting is really simple. Yet most guides online manage to dumb it down too much. Look up a lighting guide and you’ll seldom get more than the 3-point lighting setup
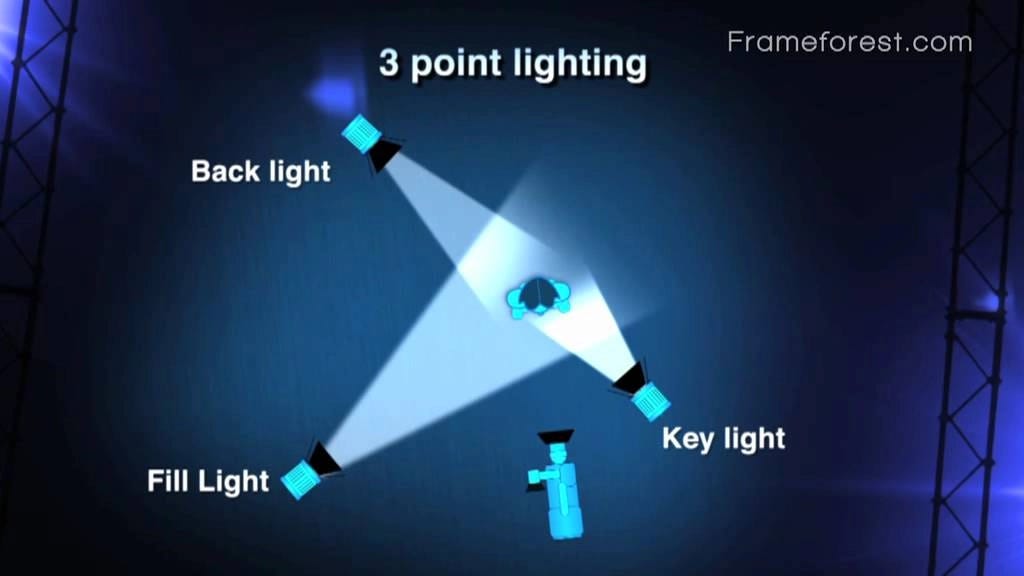
.In this illustration I see three fundamental mistakes.
The key is downstage (I’ll explain that in a bit.)
The fill is a single light far away
It doesn’t mention what’s lighting the majority of the frame (namely, the background)
Aside from those issues, this only works with a single subject where the background doesn’t matter. That’s common for portraits and asset shots, but rare in film and games.
The solution is to learn a system for lighting, instead of a recipe. The recipe says where the lights go, the system says how to think about them. I show how to apply that system to a medium character shot in this video.
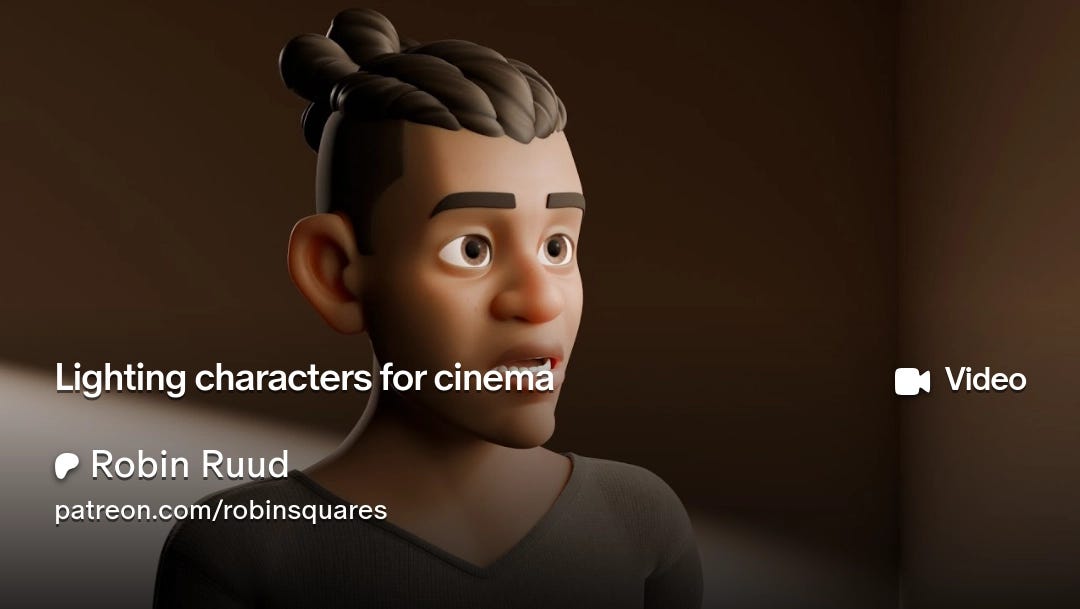
In that video, you see that I work in a way that fixes those three issues with the 3-point lighting setup.
I set the room tone, which will both illuminate the background and the shadow side of the character.
I key from the opposite side of the character’s eye-line. That’s called keying from upstage.
I use negative fill to add dimension to the “fill” side of the face.
You can learn all this in 10 minutes. (The video is 20 because I’m slow.)
This system tells you nothing about how many lights you need or how to place them (you can make this with a single light) but it says what effects to achieve. And you learn those here:
Tutorial: Wandering DP
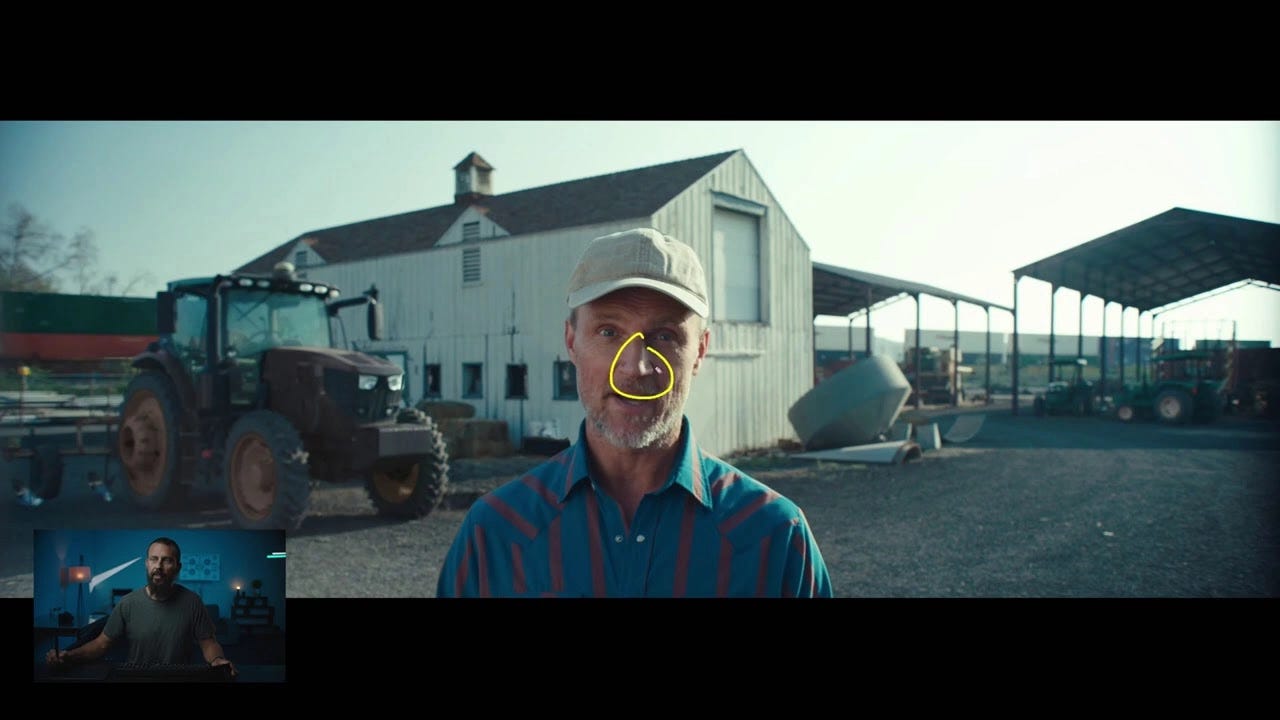
Watch a few of these videos and you’ll quickly get the idea. It’s a super simple system for lighting. Is the lighting interesting? No. But it’s nice. (See last week’s post)
Tool: Lighting ratio viewer
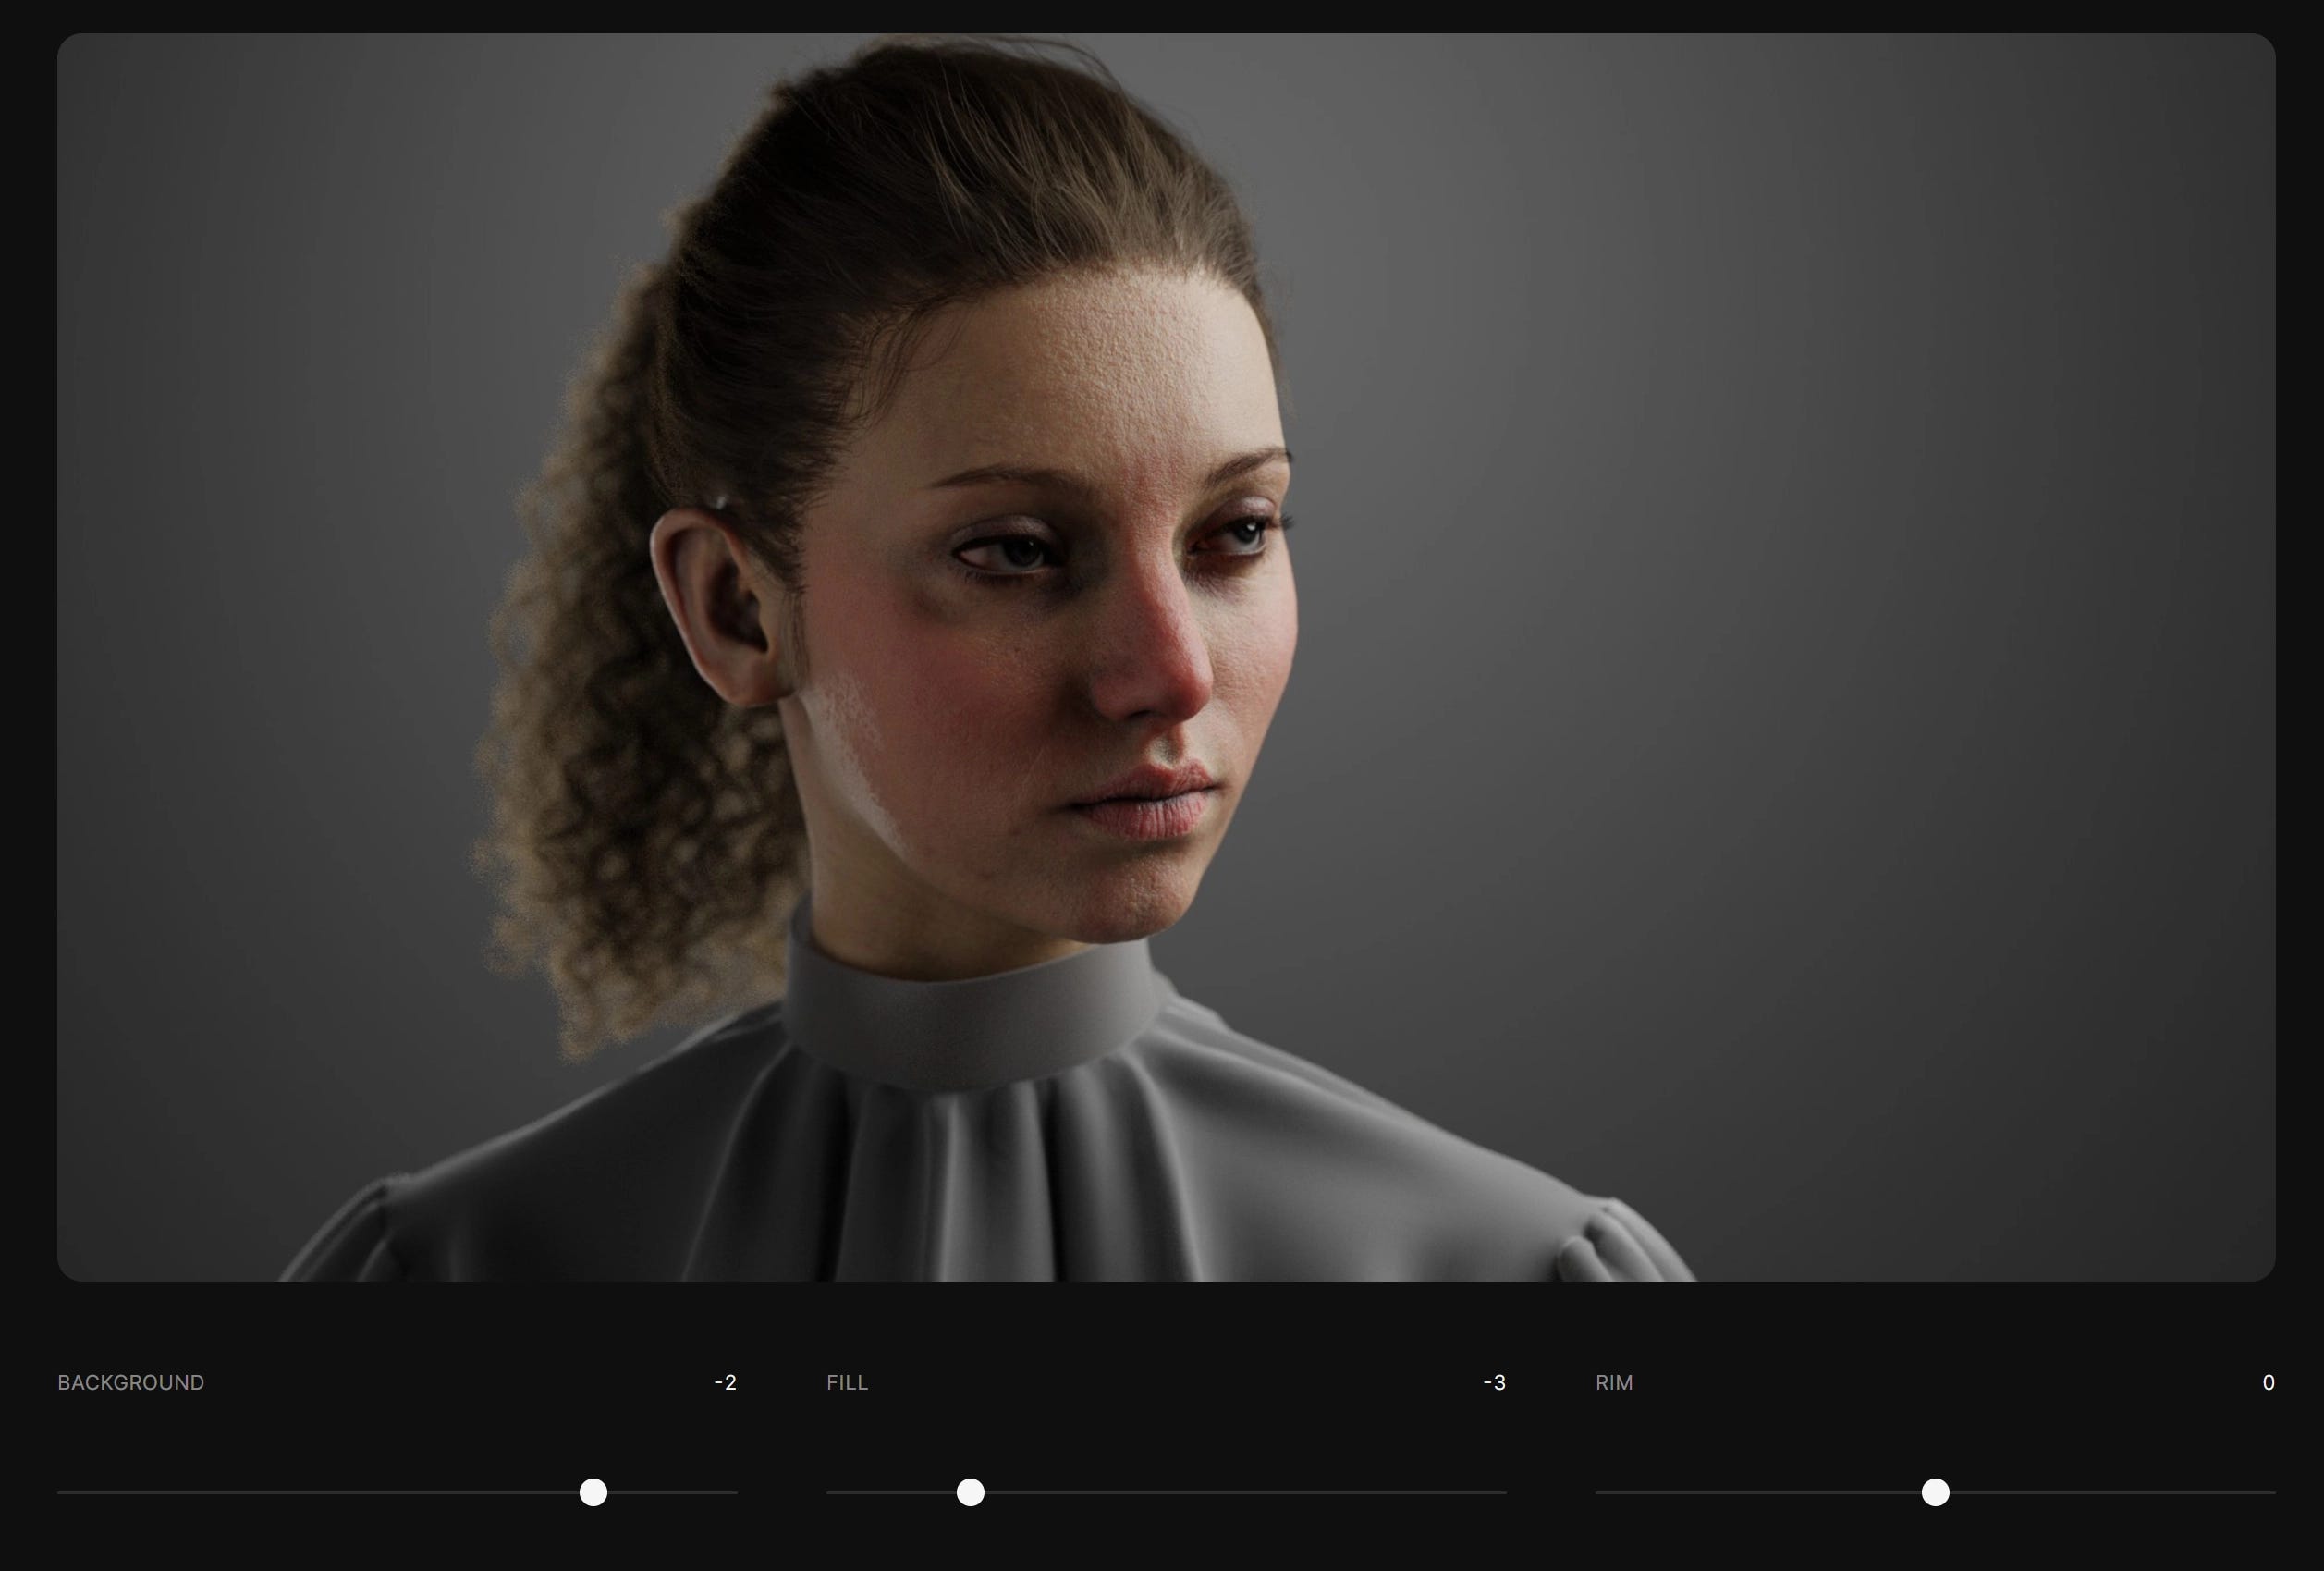
Once the lights are set up in the right spot with the right size, what’s left is lighting ratios. How strong are they? That’s not measured by the power of the light by the way, but by how bright the surface appears.
I made a tool where you can adjust light ratios and see what they look like. Try to match a few shots that you like and note down what the ratios are. Quickly you’ll realize what ratios you like and never have to think about it again.
The numbers are T-stops. One level up means a doubling in luminosity. Assume the key is at 0 here. That means:
If the fill is at -1, the ratio is 1:2
If the fill is at -2, the ratio is 1:4
This roughly corresponds to the exposure slider in a Blender light. Going from 0 to 1 doubles the power.
Where can you find images to copy lighting ratios from?
Inspiration: Filmgrab
You can find a bunch of film stills here. Try to copy some lighting ratios you like and note down the values. Save for later.
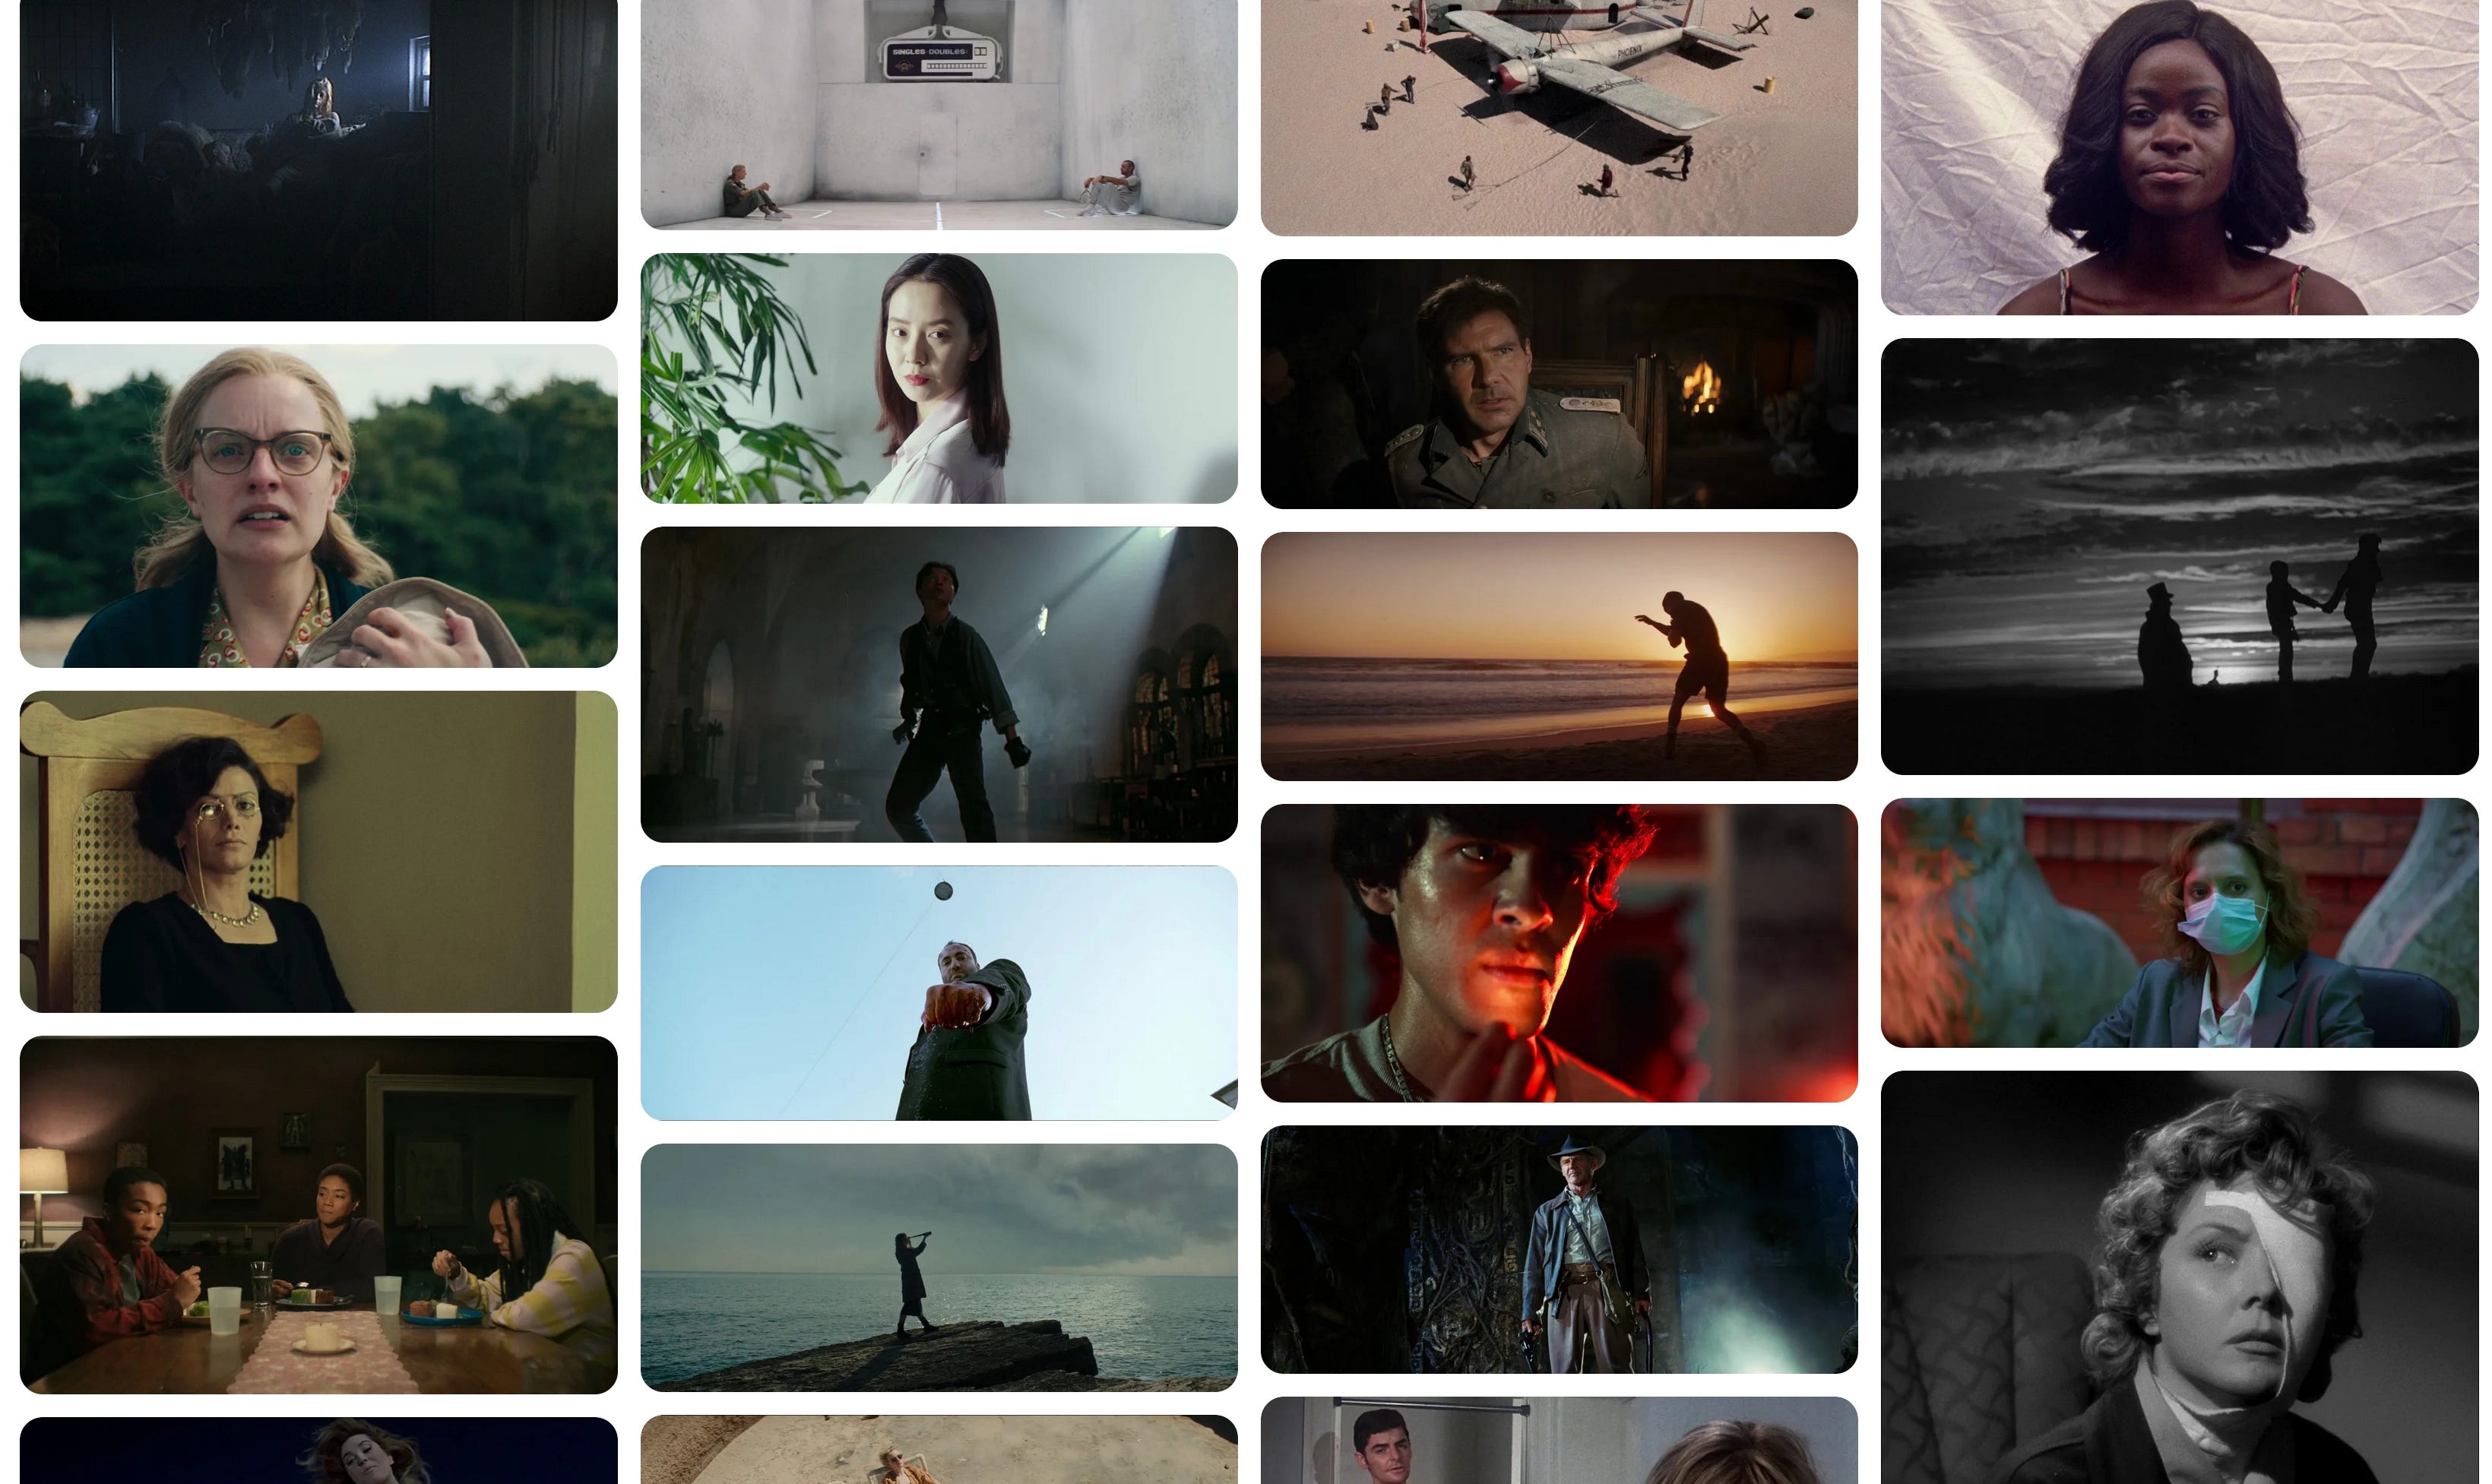
I personally like the fill darker than the background, and just a slight rim. Try this: BG: -4
Fill: -5
Rim: -2
I've formed an unformal pipe line for my lightning workflow, more like a doctrine by now. I used to be very rigrid about these kind of things and approached them in a very bottom up manner, my ocd only make it worse for me like putting Rembrandt light, backlit rim lights because they are dramatic or something ..etc, the same mistakes for composition like forcing rule of third... I do those just because peeps say it's nice.
Lighting and composition are very emotional and purpose driven task, back then I wouldn't bother ask myself what would I want the viewer to feel through this scene and just try to make it as beautiful as possible. I've read an post of a Pixar Art Director, Light Director? On emotion and story telling through lighting, it's a good quick read, lighting as a technical task is really easy to me and sometimes straight forward (now with light linking it has became so much better), though as an creative process it could also be very nuanced, and usually there are a lot of thoughts behind each scene.
I would just lean on the purpose of the scene (to show what, imply what, evoke what) and try things out, like do I want to show the subject emotion or do I want the viewer to feel the object emotion, what motiffs has been used in the previous scenes, what are the purposes next scenes and how/should this scene lights support it and many more nitty gritty questions that act as my guidelines. I think it's a really nice doctrine worth sharing.
Thank you for reading my nerd yap 🥀