
■1: Tips galore

Tip: How to render nice subdivision wireframes
When I render wireframes (for a portfolio or product demo), I want to show the subdivided smooth mesh with a simple wireframe. Just like it shows in the viewport. But that’s surprisingly hard in Blender.
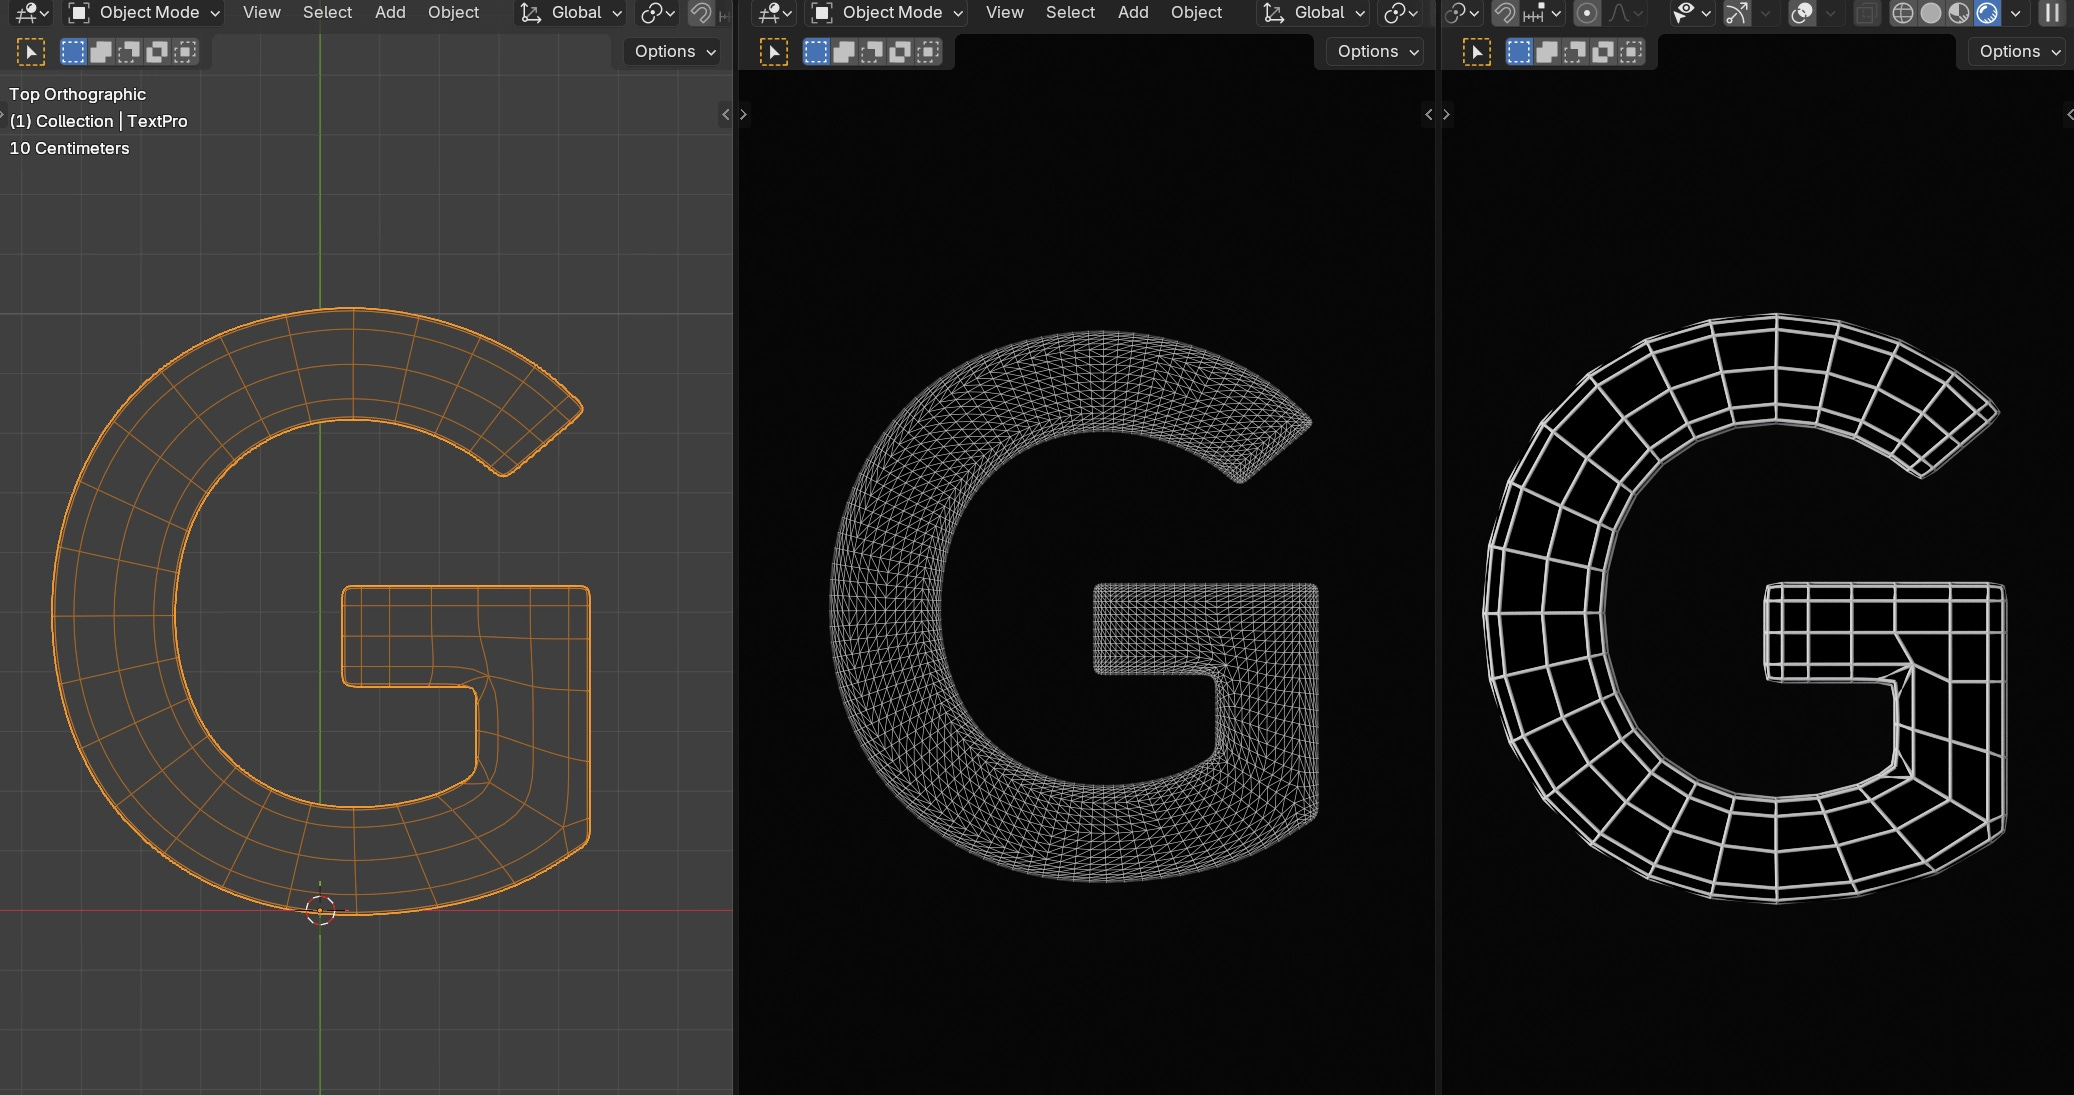
Both of these techniques look unappealing.
Recently, I’ve rendered a lot of wireframes for my text product. Here’s the technique I used.
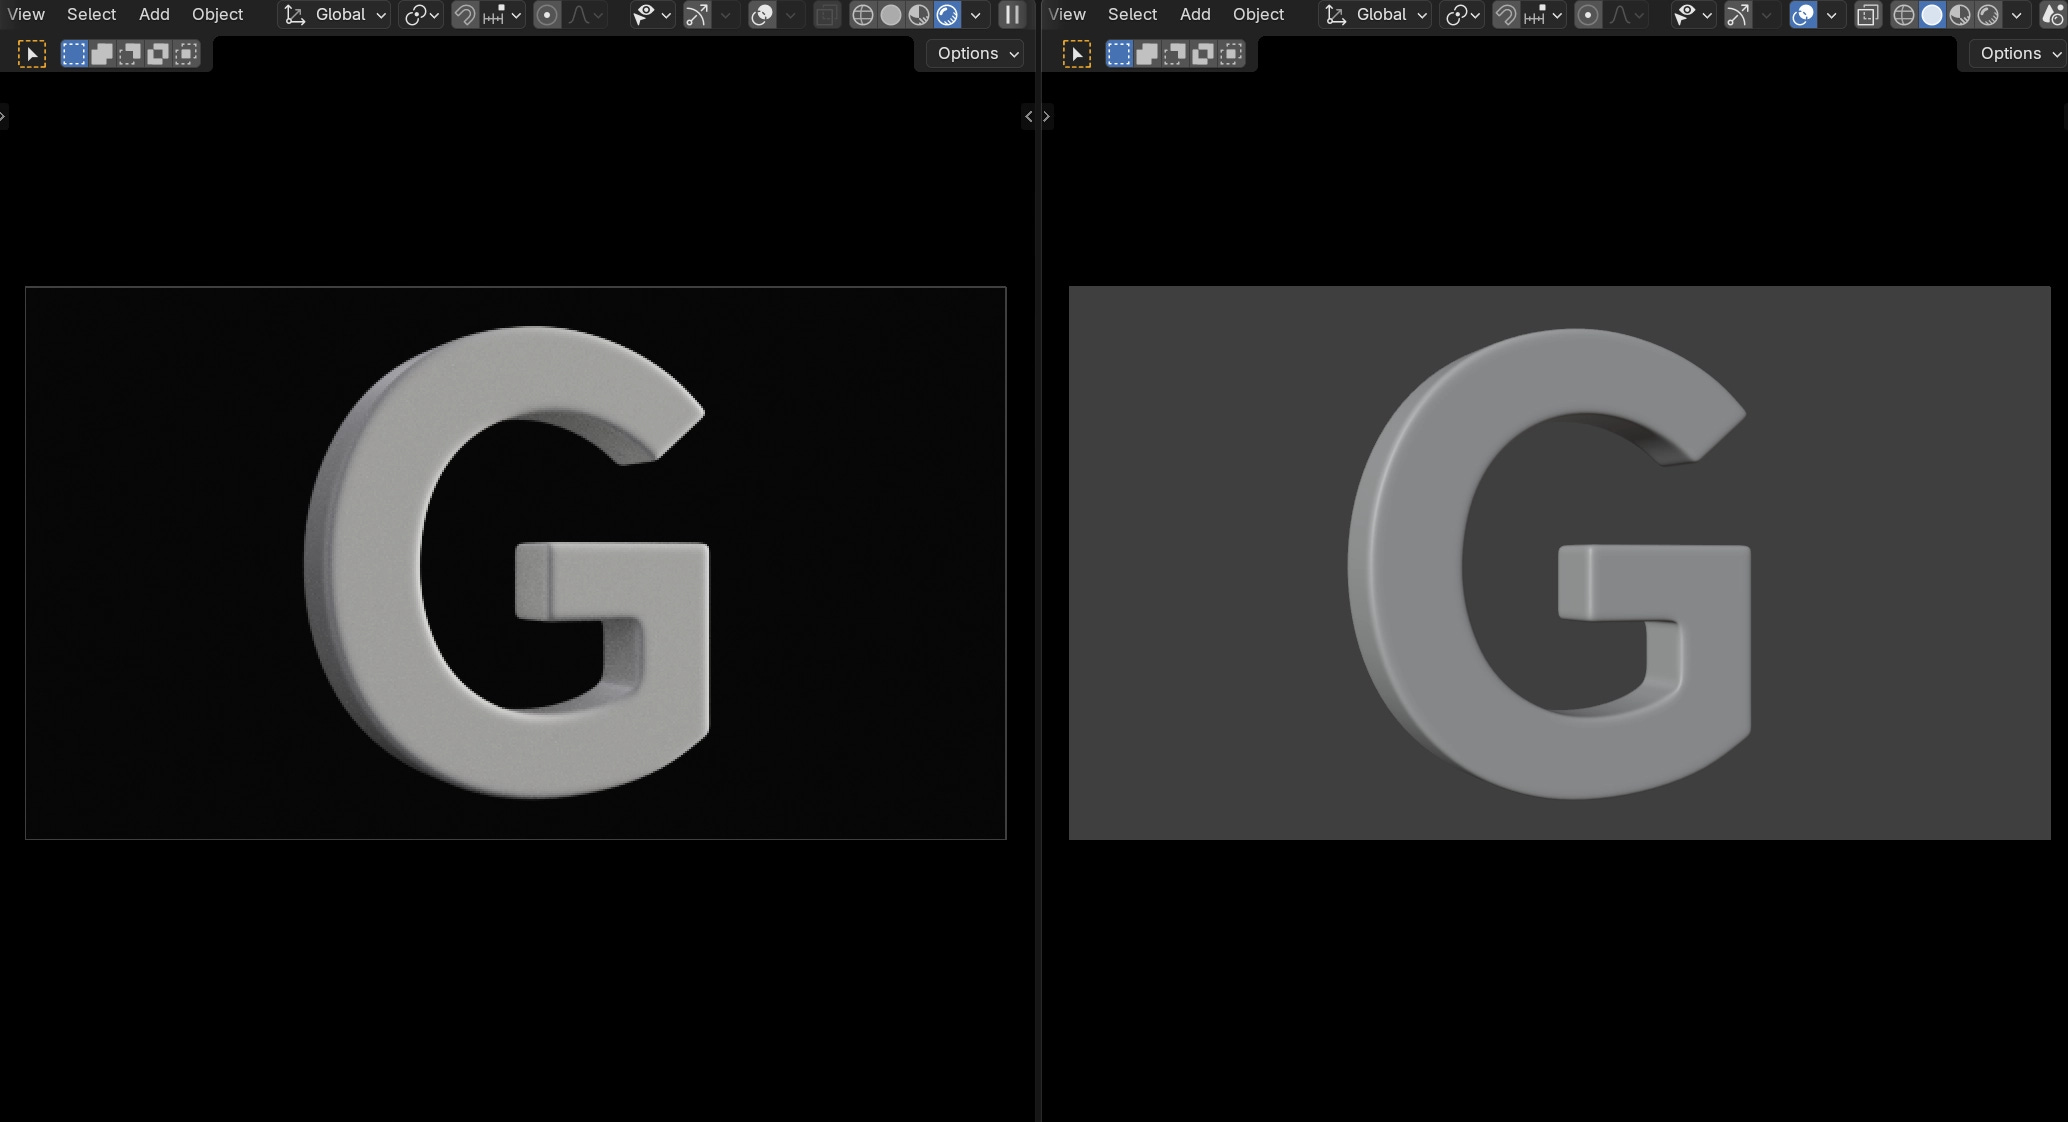
You make two viewports: one for the beauty render, and one for the wireframe. The wireframe viewport is in solid shading.
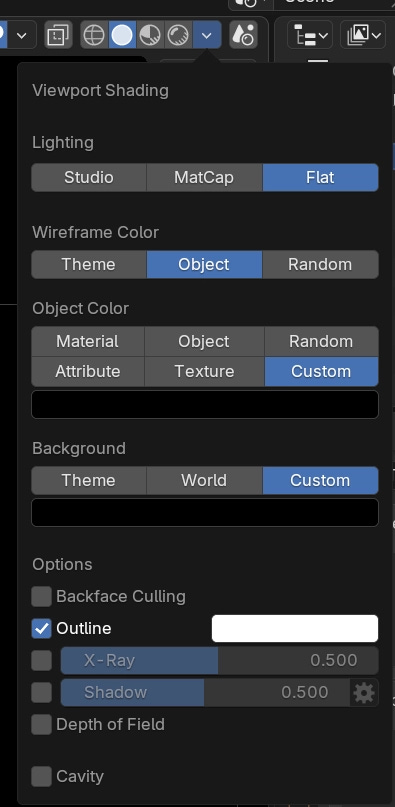
Set up the wireframe viewport shading like this. (Outline is optional)
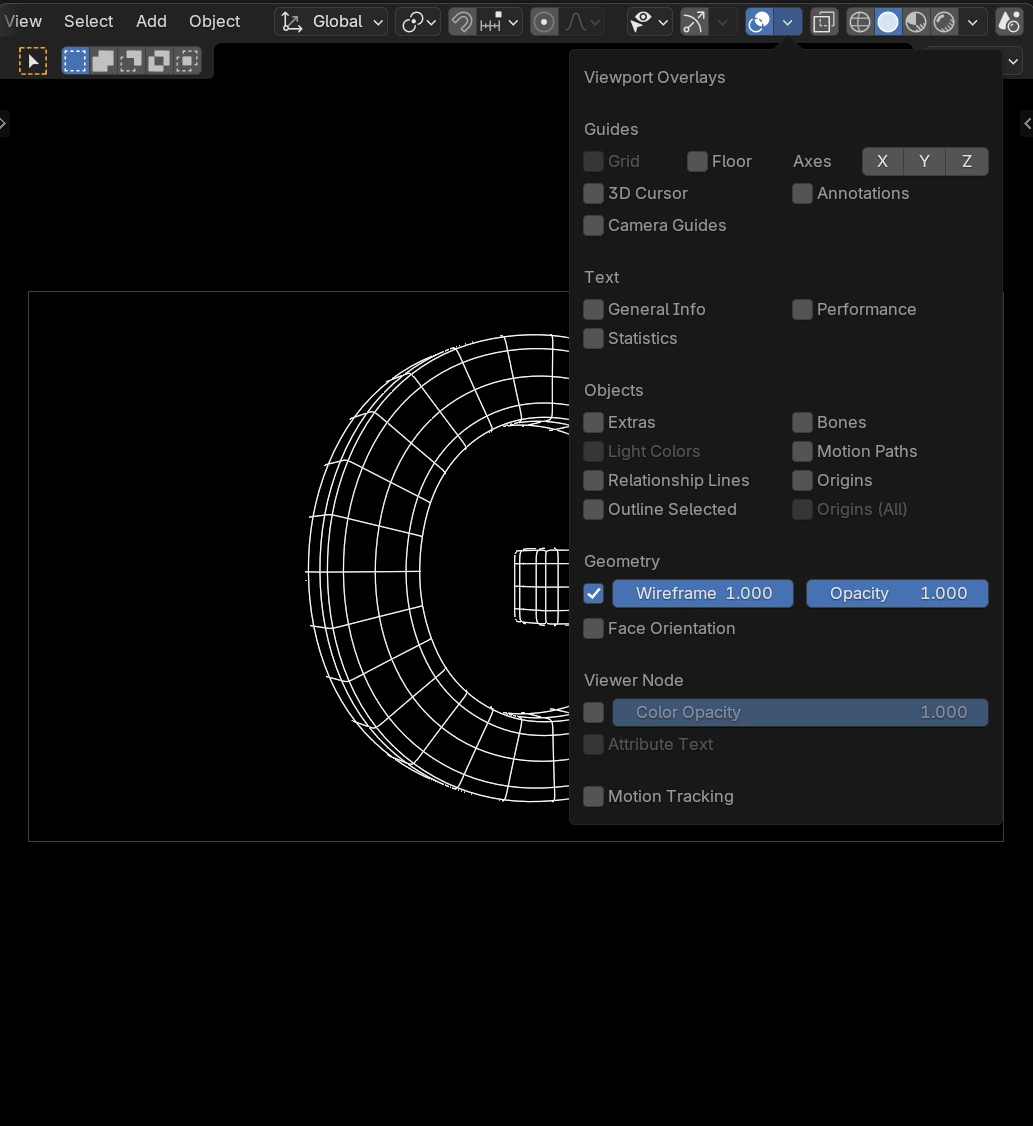
And in viewport overlays, turn off everything except wireframe.
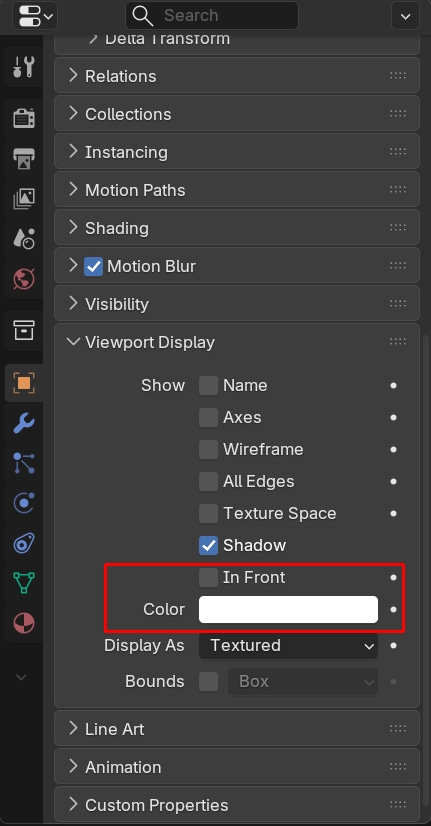
The object’s wireframe color will now be driven by its viewport display color. Typically, you’ll want to keep it on white:
Viewport render the wireframe viewport. (playblast if it’s an animation.)
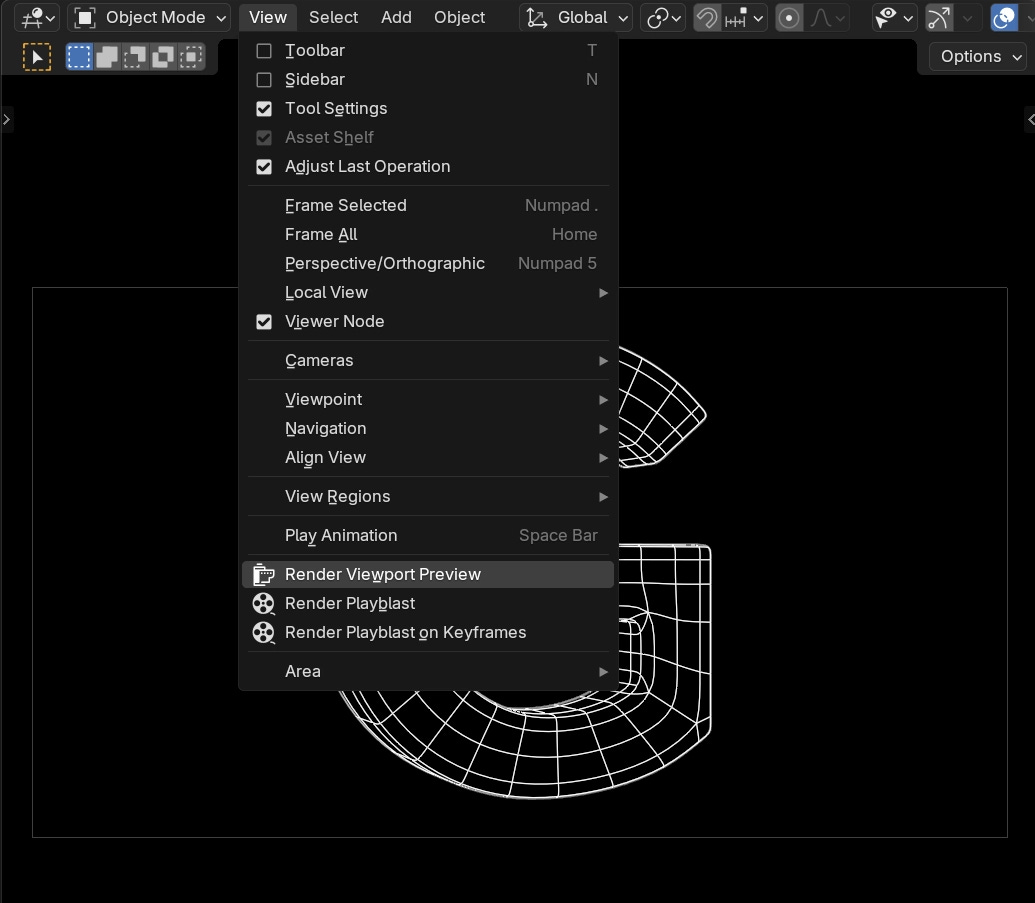
Save the wireframe render and bring the saved image into the compositor.
Also, render the beauty render with F12.
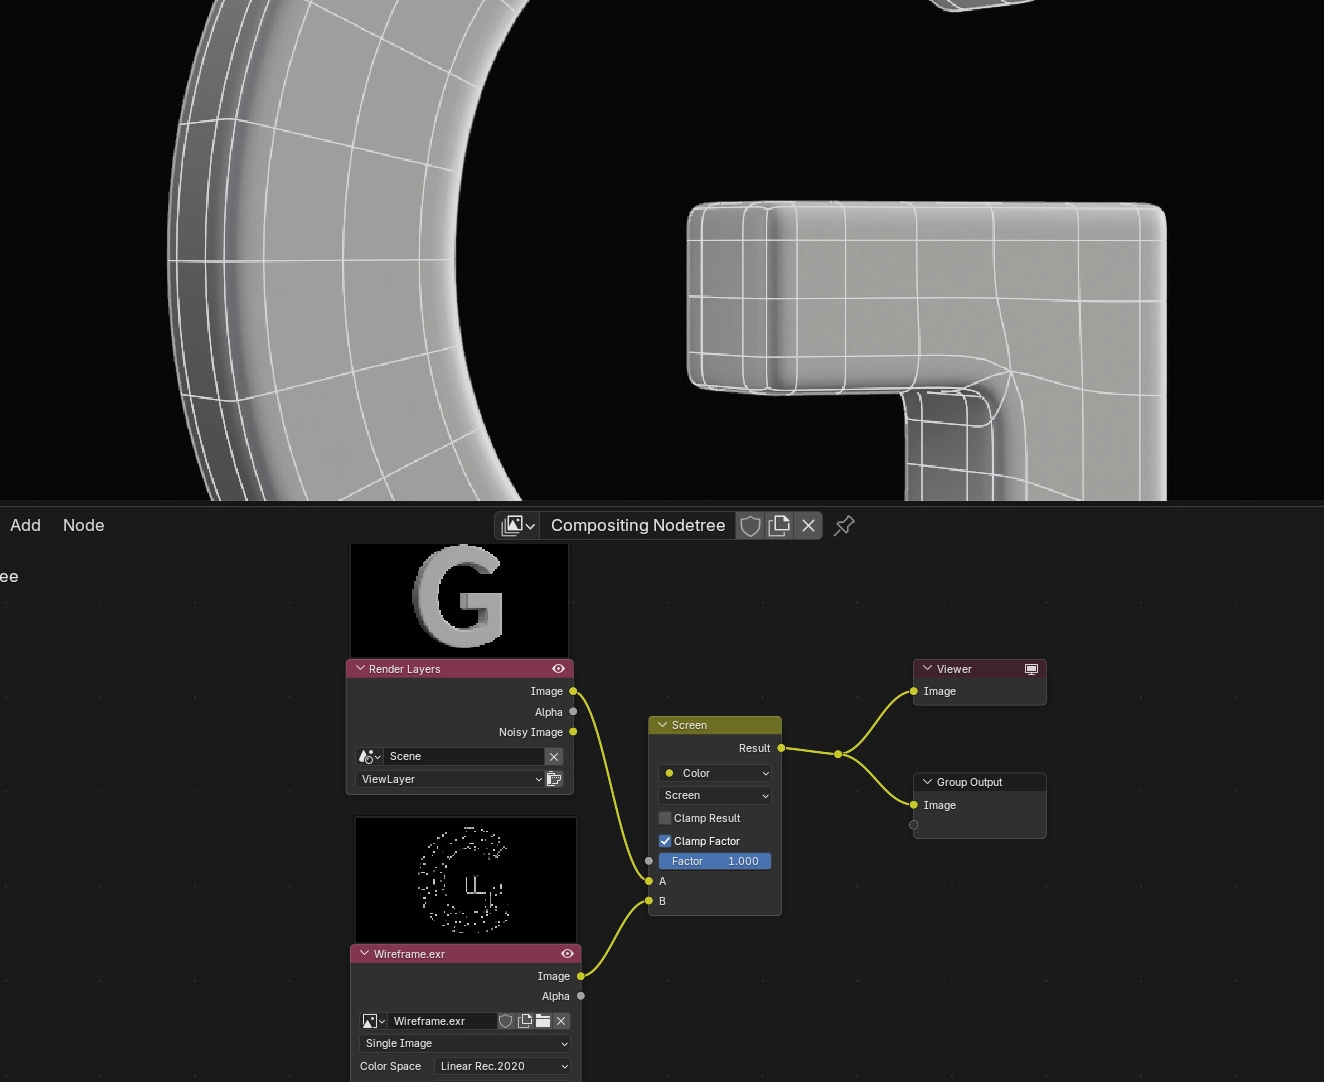
These two images can now be mixed. Say, with “screen” blend mode.
Or invert and multiply if you want black outlines.
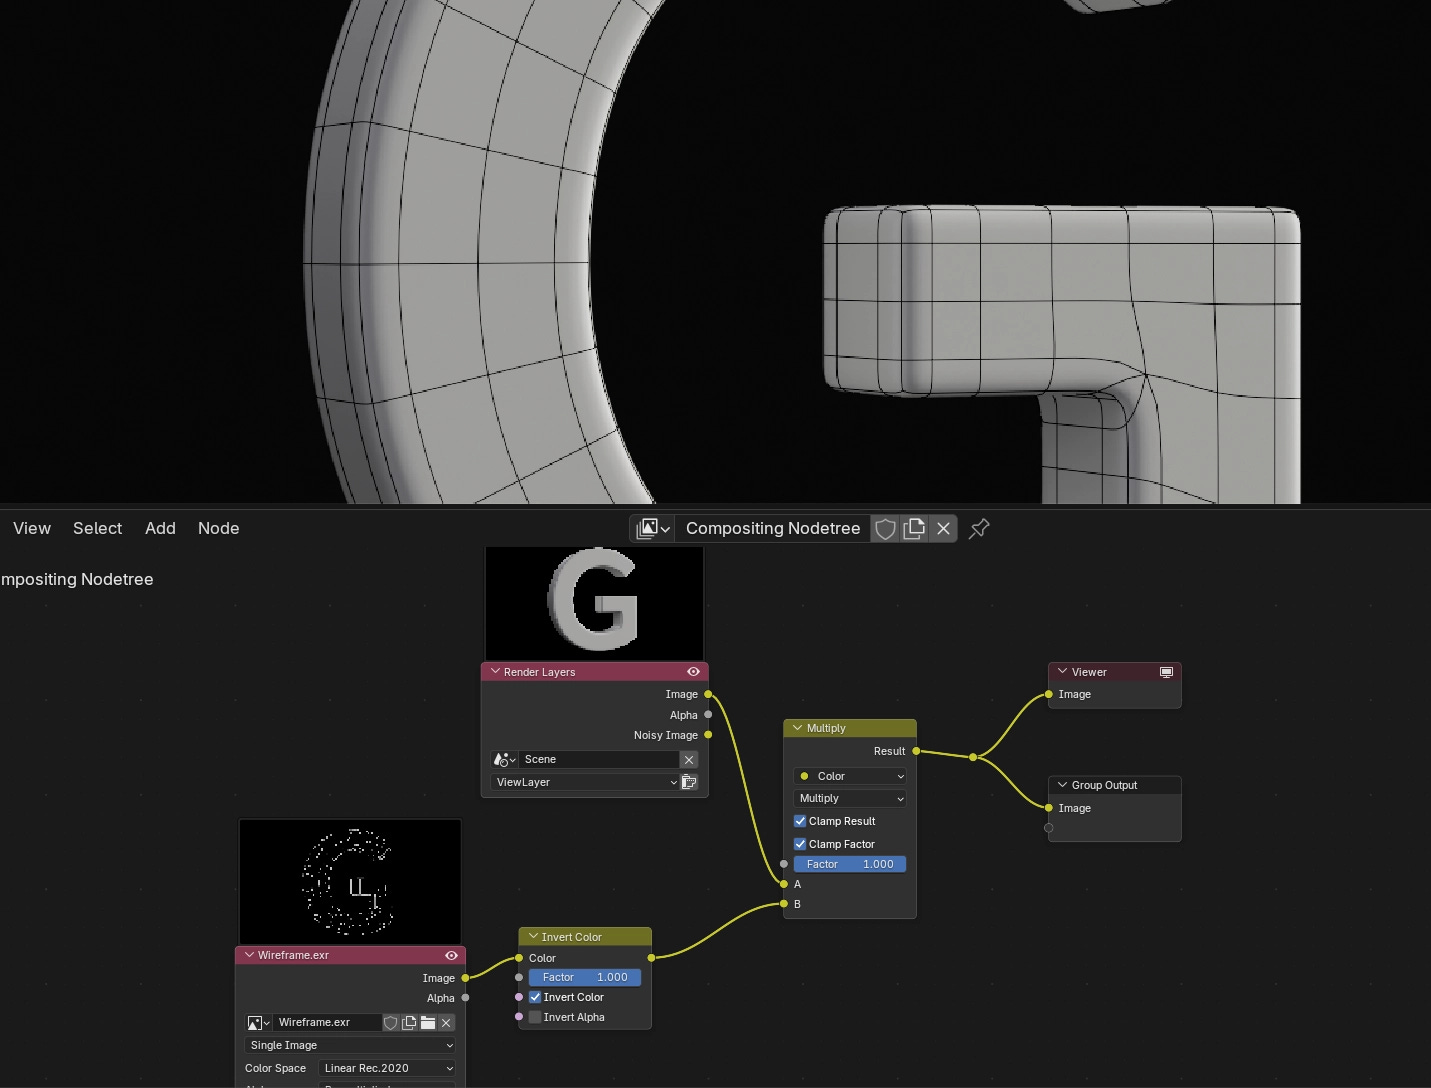
To make the outlines thinner or thicker, change Blender’s resolution scale in the preferences. You can also change the thickness in the compositor by blurring, then clamping.
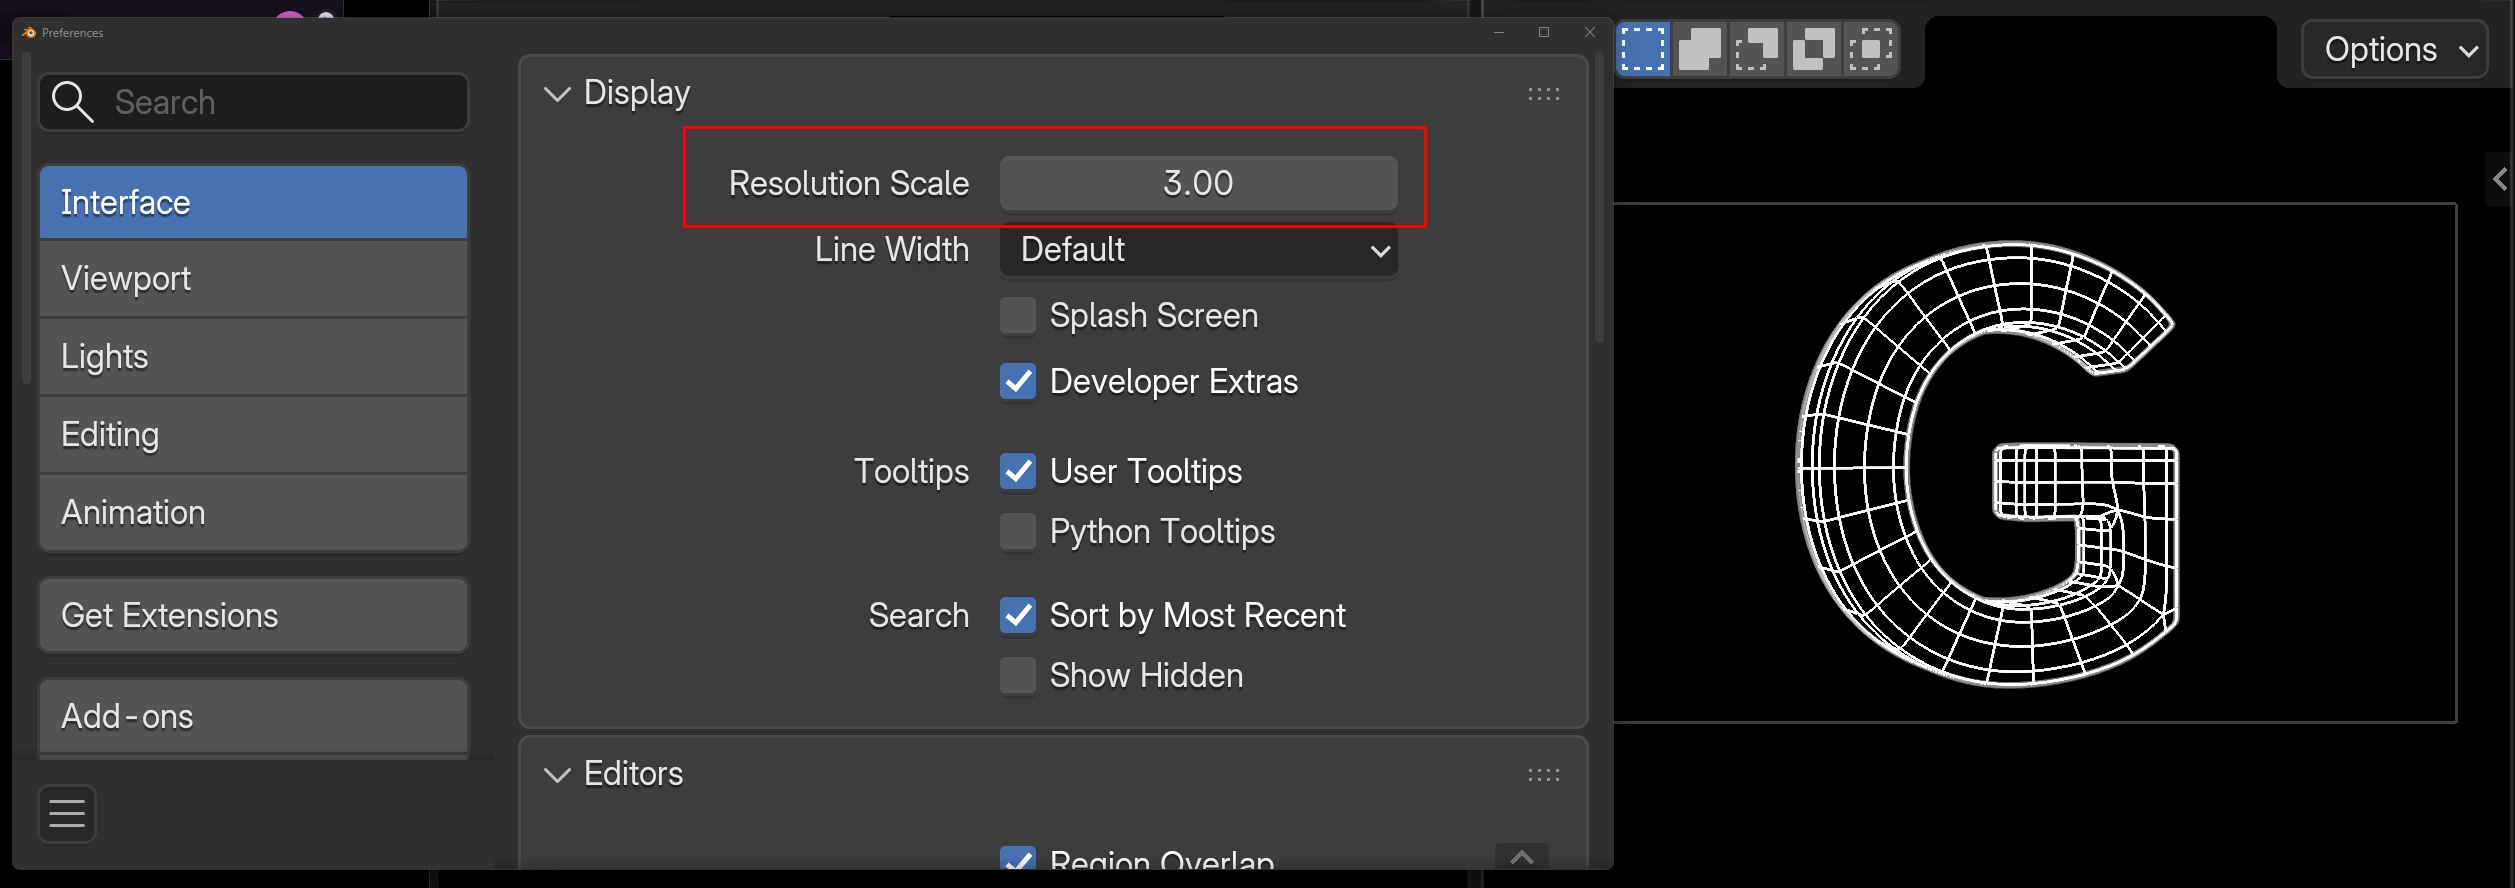
The thickness will also change with the resolution you render at.
Tip: Fog rays
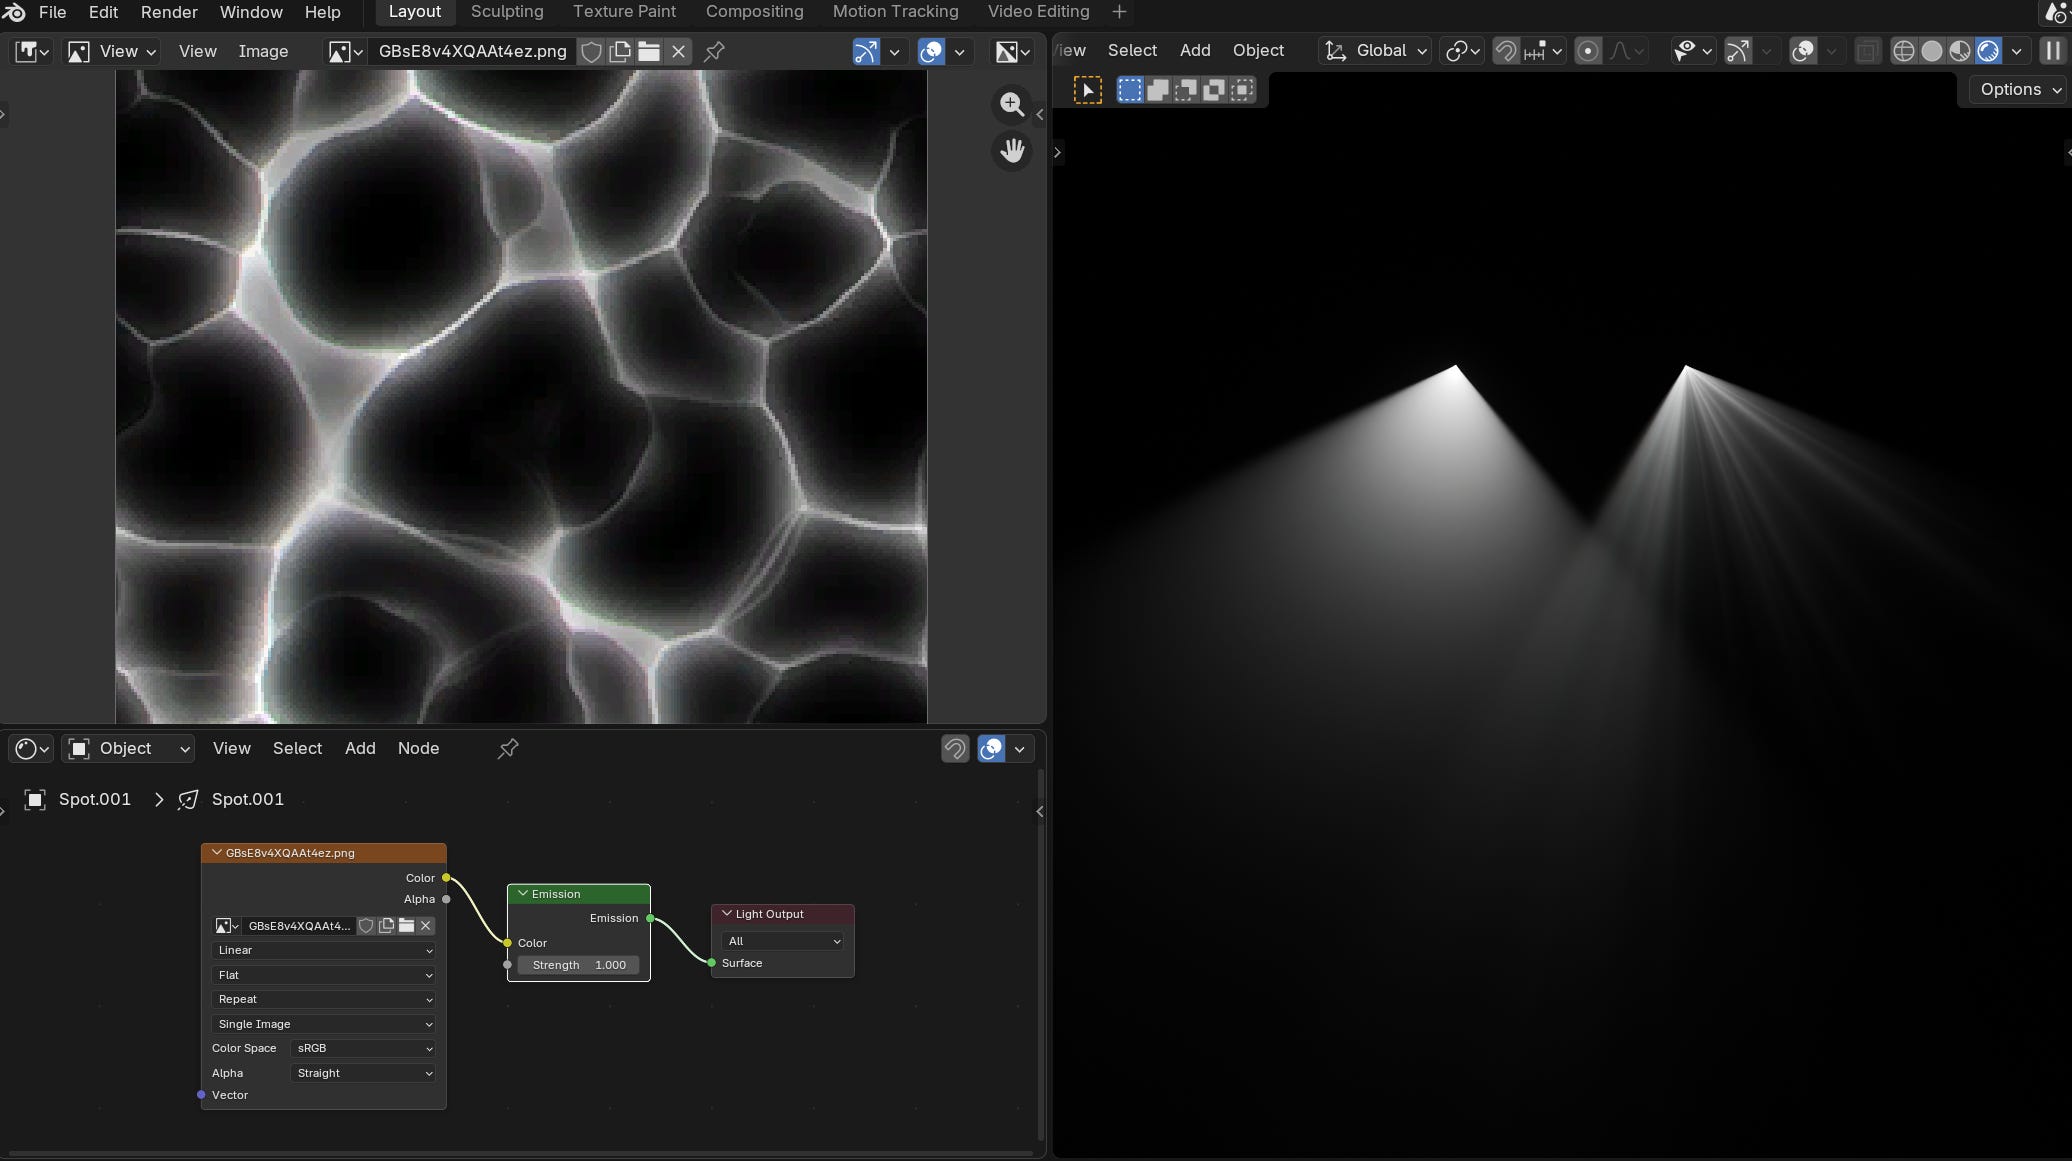
A caustic texture in a light makes nice rays in fog.
Tip: quick rig
Love the quick tips. Each of them sent me down a separate rabbit hole. :)